
I always wish that I had an extra hand when tying floral bows, so I came up with this homemade tool to make it easier. The tool takes less than 3 minutes to make and is made out of a paper box that you find at a grocery store. Don’t laugh…it so works and it is a green project!
I love learning from all of you and I would love to hear your bow tying tips! Enjoy the video!
(I'm having a little trouble with YouTube) Update:Solved! Watch below!
Stay tuned for a fun filled Fab Five Friday.
Wednesday, February 29, 2012
How to Make a Quick and Easy Floral Bow Using a Homemade Tool
Monday, February 27, 2012
Homemade Detachable and Reusable Decorations for Your Napkin Rings
A few weeks ago, I made napkin ring decorations for a Valentine’s party and decided to make more for a Saint Patrick’s Day dinner. These decorations are detachable, so you can use your napkin rings over and over. The best part is that you can send your guests home with a cute magnet to use on their refrigerator. Click here to see my original video.

Here is an assortment of my napkin rings. This time I challenged myself to use a variety of different files and machines. Not sure why, but it sounded like fun at the time!

For these rings, I used a print and cut file from the on-line Silhouette Studio. These measure two inches. If you like them, you can click here to purchase the file.

Next I used my Imagine and the Imagine More Cards cartridge. I only used the shamrock layer from the image on page 7. If you don’t have an Imagine, click here to see some adorable Cricut Craft Room files that would make perfect decorations. Or you could also use an image from A Child’s Year Cricut cartridge.

For this napkin ring decoration I used a free SVG file from SVG cuts and my Cameo. The paper was from my stash. I have the Silhouette Studio Designer Edition, so I can open and use all SVG files with my Cameo. You can also use Make the Cut software with the Cameo to open SVG files. I love using free files!
For complete instructions please click here to watch the video. The technique is easy, nothing is glued to the actual napkin ring, not even a magnet, so you can use your napkin rings with or without a decoration. Easy Peasy!
Thanks for visiting!
Friday, February 24, 2012
Fab Five Friday!
Welcome to Fab Five Friday! For those of you that are new to this blog, every Friday I showcase five blogs, websites or posts that I think you will enjoy.


I saw this amazing flower on 217 Creations and fell in love with the project. Elizabeth made this flower using the new Cricut Giant Flowers cartridge. Be sure to stop over to her blog for detailed directions. You will so enjoy your visit! Looks like I need to buy this cartridge!
Recently I discovered The SewNSo’s Sewing Journal and I am excited to share this blog with all of you. To see a great tutorial on sewing with the Silhouette Cameo using fabric and felt, click here. Laurie’s blog also has tons of great projects that do not use the Cameo, so be sure to check out her blog.
For some trendy free fonts, visit Brown Paper Packages, and while you are there, be sure to check out this unique blog.
Every once in a while, I find a totally unique blog that I just have to share. Infarrantly Creative, and yes I spelled it correctly, is that blog. Beckie is a master at recycling and repurposing and has even created a lamp out of old crutches. Check out the roadkill rescue tab and be prepared to be amazed.
Ready for some more freebies? If you click here to visit Shery K Designs, you will find over 16 different freebies. Some are for use with the Silhouette, others you can just print and cut. And on top of that, she has provided 4 different packages of free digital paper. Wow! Something for all of us. She even has a printable Pink ribbon box that can be made using only your printer. Thanks Shery!
Thanks for stopping by and I hope you are having a fun filled Fab Friday! Stayed tuned for a new video.
Linda
Wednesday, February 22, 2012
Quick and Easy Bows Using Curling Ribbon
A few weeks ago, I made a video on how to make quick and easy homemade post- it notes and promised I would do a video on how to make the bow I used when I packaged my notes. Click here to see the video on how to make homemade post-it notes.
I am a couple of weeks late with my ribbon video, but I finally finished it. But before we get to the video, I want to thank all of you for your support! Thanks to all of you, I now have over 3,000 YouTube subscribers. Yahoo!! Now back to today’s video…..
I found a great site with lots of freebies that I can’t wait to share with all of you so pleases Stay tuned for a fun filled Fab Five Friday. I would also love to have you visit my YouTube channel by clicking here. This is my 96th video! Whew!
Linda
Monday, February 20, 2012
Kitty Cat Bag
We have two black cats so I just had to make this cute favor bag. This file is from the Silhouette Online Store and was so simple to make. This would be a great treat for a birthday party and when you open the file it is sized perfectly for a party favor.

I cut the file and all layers, using a variety of card stock from my stash. The handle was originally one layer, but using the Cameo software, I quickly made an inside layer. With the Cameo and the included software, you can quickly make a shadow (offset) layer for any image and you can also make an internal layer (internal offset) of any image. Wow! My mind is spinning with all the possibilities. I added faux stitching and was done! So easy!
I purchased this file for $.99 and you can order it here. I am so enjoying my Cameo and loving my Cricuts too. It’s like one big happy family!
Thanks for visiting and please stay tuned for a new video…hint it involves ribbon.
Friday, February 17, 2012
Fab Five Friday! Freebies and More….
Welcome to Fab Five Friday! For those of you that are new to this blog, every Friday I showcase five blogs, websites or posts that I think you will enjoy.


Recently I discovered The Digichick and I am over the top excited to share some of their collections with you. Their digital collections and paper packs look so professional and their designers are incredible. Click here to see more, you may never want to buy paper again! You can use digital papers to make a digital layout, can print them on your computer and use as you would regular paper, or flood fill images and do a print and cut with your Cameo Silhouette. I am going to be printing and using my Cricut to cut and also using the print and cut feature on my new Cameo. Click here for a free mini paper pack and kit. Thanks Digichick!
Visit Kara’s Party Ideas and you will come away with lots of party ideas. Warning, this site can be addicting and is one of my favorite sites to pin. Speaking of pinning, I want to invite you to follow me on Pinterest by clicking on the red button on the left side of my blog. Too much fun!!
Another party site to check out is That Cute Little Cake. I guess I am in a party mood this week. Hmmm, looks like I will be having a Saint Patrick’s Day party!
Now something for all of you stampers. Noel Hyman from Paperclipping.com has a very interesting video on the new Wow embossing powders shown at CHA. They are named correctly as they certainly have the wow factor. Check out her video, she has several more you will want to watch.
Ready for some more freebies? If you are currently a Silhouette owner, or if you are considering buying a Silhouette Cameo, here is a quick tip on how to get 50 additional free images. I learned about this on the Silhouette message board and could not wait to pass it on. Click here to access the on-line store and type in original 50 in the search box and you will have access to 50 free files. The software is also free so you can play with these images using the free software before you buy a machine. I love my Cameo! And if you want to enter to win a free Cameo, click here to sign up. Craftaholics Anonymous is a fun site to check out! Good luck and I hope you win!
Thanks for stopping by and I hope you are having a fun filled Fab Friday! Stayed tuned for a new video.
Linda
Wednesday, February 15, 2012
Quick and Easy Photo Cards Using Photographer’s Edge Products
My husband Bill, in addition to his full-time career is also a photographer. I am so proud of his photography and want to share with you how he makes quick and easy professional looking photo cards. I know we all love making our own cards, but thought you might enjoy seeing a different technique using products from Photographer’s Edge. Now for a quick disclaimer before we get started. I am not a paid spokesperson, nor do they sponsor my blog or provide any free products…. I just love them!

The photo on the right is Antelope Canyon, Page, Arizona. The one on the left is La Push Beach, Washington. Bill used Photographer’s Edge cards to mat these photos. You can click here to see their website and scroll down to see my video on how easy it is to make these cards.

This photo was taken at Shore Acres Park in Oregon. Bill used a calendar from Photographer’s Edge to complete this project. The card folds to fit in the envelope that is also provided, and there is a magnet on the back. I go into more detail on the video.
Here is the technical information for the camera and printer:
Camera: Canon 7d
Printer: Canon Pro9000 Mark II
Paper: Canon Photo Paper Plus Gloss II
Thanks for visiting and a special thanks to Bill for the amazing cards!
Monday, February 13, 2012
Valentine’s Day Cards and My New Toy!!
This is my second card using a cartridge from the Cricut Craft Room exclusive line. I purchased their Valentine’s Sentiments cartridge online and had it almost immediately! If you would like to watch my video on how to order from the Cricut Craft Room, click here.

The card and layers were cut at 4.6 inches from the Cricut Craft Room Valentine’s Sentiments using the Cricut Craft Room Studio. I cut two shadow layers and used the glue and fold method to attach them.
I added a twine bow and button and was done! Well almost done, I added the sentiment using Photoshop.
My next card was made with my new toy, the Cameo Silhouette. I love all my Cricuts including my Imagine and Gypsy and will continue to use them. I especially love the cartridges and all the layers! Cricut makes it so easy to cut a wide variety of materials!
I purchased the Cameo to be able to cut fonts for free that are already installed on my computer and to print colored images on my printer and cut them out with my Cameo. I am just learning the print and cut function and I will let you know how it goes. So far, I have been very impressed with its accuracy! I also want to cut SVG files since there are lots of free SVG files out there and tons of cute ones to purchase. In other words, I like having a variety.

This card is from the Silhouette Store and was cut at 7.24 x 10.42 inches. The card measures 5.25 inches tall. I added some glitter on the bow and was done. Super easy first card! Note the intricate cuts on the wing. Wow!
If you want to check out the Silhouette store, click here. You can also download their software for free to try it out, by clicking here. I tried out the software and shopped the store for weeks before deciding to buy. The software includes 50 free images that you can play with. You have to buy the Silhouette if you want to cut or print and cut using your home printer. I will keep you informed of my Cameo adventures.
In the meantime, have a Happy Valentine’s Day!
Linda
Friday, February 10, 2012
Fab Five Friday!
Welcome to Fab Five Friday! For those of you that are new to this blog, every Friday I showcase five blogs, websites or posts that I think you will enjoy.


Rosa O. Clifford from Roc Paper Scissors, created these amazing cards. Rosa appeared on Martha Stewart last Tuesday and I was so impressed and couldn’t wait to show you her work. Rosa sells her beautiful cards on her website. And be sure to check out both her blog and her store while visiting.
My friend Kate, from Small Bits of Paper posted the cutest valentine projects and cards. My favorite is the cat valentine card from the Meow cartridge. Be sure to scroll down to see them all! Wow Kate!!
I recently discovered The Misadventures of a Mulit-Crafteer and I am so enjoying her blog. Click here to see the first of many detailed flower tutorials and be sure to scroll down for more. She uses a variety of Cricut cartridges including Flower Shoppe to achieve very realistic and gorgeous flowers. Ali is mega talented and you will want to spend some time checking out her blog.
The Twinery is one of my favorite places to shop and I want to share their free 2012 Monthly Printable Calendar with you. Click here for the download and here to go to their homepage. Their Twine is 100% cotton and comes in a wide range of colors! You can even buy sampler packs!
Lost Type is a trendy co-op blog for fonts that distributes fonts from designers all over the world. Users can pay whatever they like for a font and you can even type in $0 for a free download. Click here to browse some very trendy fonts! Lavanderia is my favorite.
Thanks for stopping by and I hope you are having a fun filled Fab Friday! Be sure to stop in on Monday to hear about my new toy.
Wednesday, February 8, 2012
Getting the Best Results with your Acrylic Stamps
Today is all about getting the best impressions with your acrylic stamps. In my quest for the perfect stamped image using acrylic stamps, I tried using a stamp press, a stamp mat, a computer mouse pad and stamping directly on my desk. To see my results, please scroll down and watch the video. You are going to love the results.
A special thanks to Emma, from My Creative Time for providing the ink and mouse pad.
Please keep in mind that everything said on the video is purely my opinion based on my testing. Your results may vary! Have fun and I would love to hear your stamping tips and techniques!
Thanks for visiting!
Tuesday, February 7, 2012
My Original Cricut has a New Home!
I just found an wonderful home for my original Cricut machine. My best friend’s daughter, Grace is having a birthday and I thought this would be a fun present. Grace is turning 13 and has been crafting with me since she was three. My original bug is like new since I use either my Expression or E2 when I craft.
Since this is a used birthday gift, I wanted the presentation to be special.

Grace’s favorite cartridge is Pagoda so I thought she would enjoy having a card made from the Pagoda cartridge, and of course, the cartridge too. I cut the shape and layers at 4 ½ inches and used the glue and fold method to make the base of the card. I used the Plantin cartridge for the heart and Word for the sentiment.

I wrapped several sheets of 6 x 6 papers so she could practice her cuts and included a cutting guide. I also had two new mats that needed a good home.

Happy Early Birthday Grace!!
Monday, February 6, 2012
And The Winner is….
Thanks everyone for all the amazing shopping tips! Now for the drum roll….just imagine you hear it!
And the winner is…..
tndj said...
My favorite place to shop is Archivers. But it is 3 1/2 hours away. I do most of my shopping at Hobby Lobby. Hobby lobby is about 1/2 hr away. Shopping online would be Joann's.
Congrats tndj! Please email your address to lkaisermt@gmail.com and let me know which cartridge you would like so I can send you your prize!
Remember you have two weeks to claim your prize.
Thanks again for all the great shopping tips and stop back tomorrow for a fun post.
Friday, February 3, 2012
Fab Five Friday! CHA Style!
Welcome to Fab Five Friday! For those of you that are new to this blog, every Friday I showcase five blogs, websites or posts that I think you will enjoy. This week I am concentrating on new products revealed at CHA and there are lots of them to share. This week my fab five will feature videos this week. Next week I will return to our regular format.
Last year’s biggest trend was Smashbooks and E.K. Success has done it again! Paperclipping.com has the best video ever of their new releases, including a baby and wedding themed Smashbook. This year E.K. has also produced a larger Smashbook and more great accessories. I would like to thank Noell Hyman for filming the most professional videos ever! All the videos highlighted today except for one are from Noell. Be sure to visit her blog!
New from Heidi Swapp is the interactive Memory File line. You just have to watch the video from Scrapbook.com to see all her new products. Her openables will be the must buy of the season for scrapbscrapbookookers. Wow!!
My favorite paper line is DCVW and if you follow my blog, you know I am obsessed with this product. Click here to see the most amazing video of their booth at CHA. The peacock is my favorite. I love their new beads too. This display is a must see! A special thanks to Noell for this amazing video.
Now something special for the stampers…. E.K. Success has developed a new stamping system that creates intricate stamped patterns. It is amazing and interchangeable too. This will be perfect for stamping on cards and layouts. Click here to see another great video from Noell.
Vintaj has partnered with Ranger to develop 15 patinas to cover their metal pieces. You can also emboss their metal elements too. The products are hard to describe so you will not want to miss this video. This is my favorite new product…looks like I will be using my melting pot again. Yahoo! You could also make unique jewelry using this system.
Thanks for stopping by and I hope you are having a fun filled Fab Friday! Don’t forgot to enter the Shop Until You Drop Contest by clicking here. You might win a free Cricut cartridge!
Wednesday, February 1, 2012
How to Make Homemade Post-It notes and Page Markers Using Your Paper Scraps
One day, I started thinking about all the Post-It notes I use and decided to try making my own using paper scraps and recycled computer paper. After some trial and error, I came up with the following technique and it worked! Please scroll down to see the video.
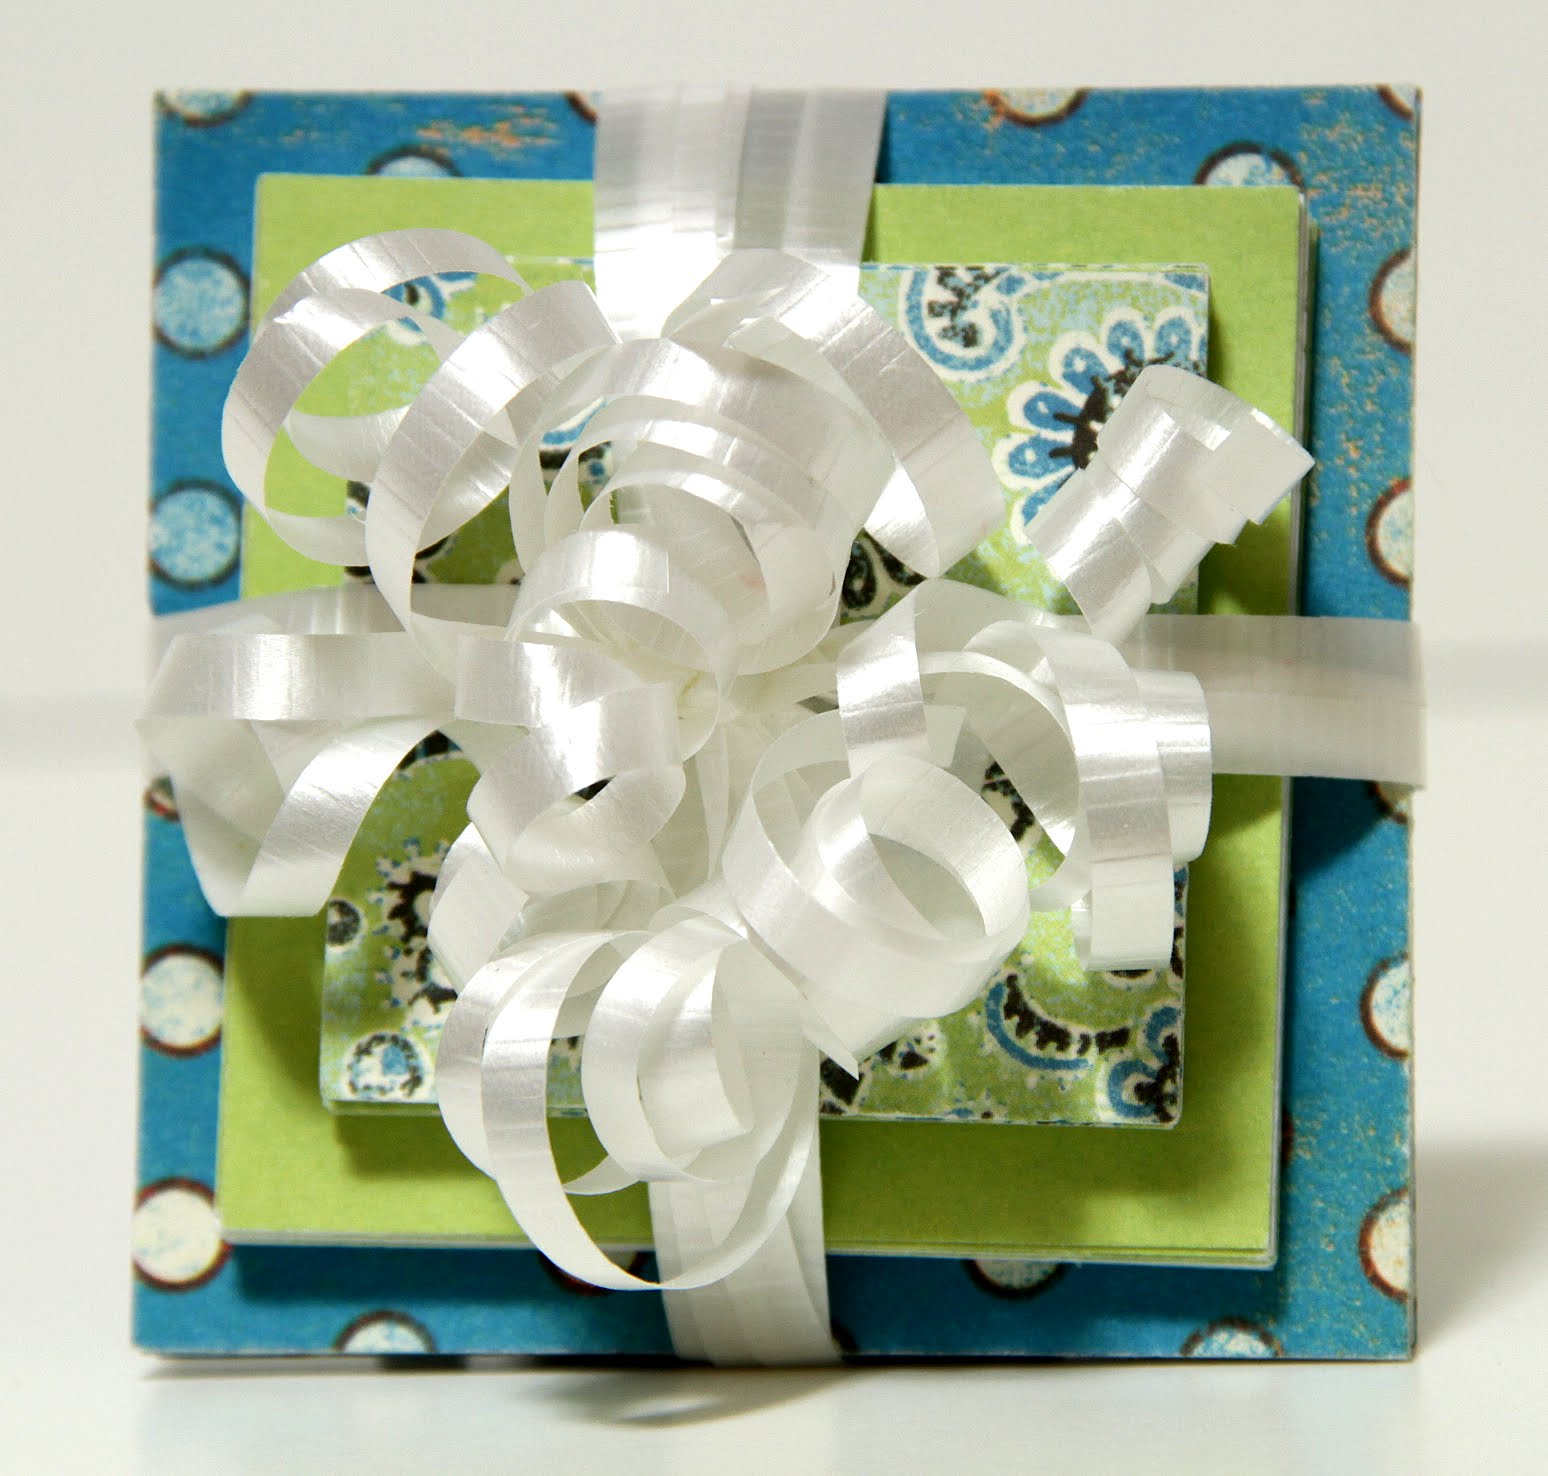
This gift tower has three different sizes (3 x3, 2 ½ x 2 ½, and 2 x 2 inches) of homemade post-it note pads. What a great gift idea!

I also made an extra 2 x2 inch post-it note pad to show you and a ½ x 2 inch page marker pad. These work the same as the post-it note flags that you can buy. Super easy and inexpensive too!
This was a fun project and the good news is that you can use your text weight card stock scraps. Yahoo! Kids will have fun making these too!
Please stay tuned for a fun Fab Five Friday…CHA style and don’t forgot to enter the Shop Until You Drop Contest by clicking here. You might win a free Cricut cartridge!
Subscribe to:
Posts (Atom)


